... of silence
Of Silence 2019
Marco Stroppa
Outline
action
Updated at
Vous constatez une erreur ?
The setup and the execution of the electroacoustic part of this work requires a Computer Music Designer (Max expert).
Version Information
- Documentation date
- 30 septembre 2019
- Version
- Of Silence 2019
- Status
- valid
- Validation date
- 22 novembre 2019
- Documentalist
- Carlo Laurenzi (Carlo.Laurenzi@ircam.fr)
- Realisation
- Arshia Cont (Computer Music Designer)
- Marco Stroppa (Composer)
- Length
- 21 min
- Upgrade motivation
- Updated to Max8 - 64bits
- Comment
- A max object, pgbank.mxo by Gilbert Nouno, is not working, because it's an old 32 bits object, but this issue is not a problem, since actually it's just used inside a display interface and it's not necessary to run the patch correctly and properly perform the piece.
Other Versions
Of Silence 2020valid21 octobre 2020
2015-01documented30 janvier 2015
Parma 2014documented24 octobre 2014
2014-01documented19 février 2014
max6-2012archived29 mai 2012
max5_2012archived29 mai 2011
Detailed Staff
saxophone
Detailed staff comes from Brahms, send mail to ressources-contenus@ircam.fr for correction.
Electronic Equipment List
Computer Music Equipment
- 1 BCF 2000
- MIDI Mixer (Behringer) - for level control during performance
- 1 Fireface 400
- Sound Board (RME) - or similar
- 1 antescofo~
- External objects (Ircam) - antescofo~ release develop2 - 1.0-168, Compiled on Feb 8 2019 20:31:25
Audio Equipment
- 5 PM 200
- Stage Monitors (Amadeus) - or similar, mounted as specified.
Downloads
OfSilence-ScoreWcues2012.pdf
M. Stroppa (annotations by A. Cont)
commentaire
PDF Score with electronic cues
96.43 Mo
packages_01
commentaire
Antescofo~ release develop2 - 1.0-168, Compiled on Feb 8 2019
107.95 Mo
packages_02
commentaire
MaxSoundBox_3-2018
8.66 Mo
packages_03
commentaire
SuperVPMax2.18.3
16.68 Mo
Concert_PATCH
Arshia Cont - Carlo Laurenzi
commentaire
for Max 8.1.0
2.23 Go
AntescofoPatch.png
52.09 Ko
HPsetup.jpg
Arshia Cont
commentaire
Speaker Setup Diagram
19.5 Ko
MainPatch.png
35.1 Ko
Screen Shot 2014-03-15 at 17.14.59.png
commentaire
AscoGraph screenshot of mvt2
213.94 Ko
TImee-Setup-OfSilence.jpeg
38.38 Ko
image
96.08 Ko
image
239.55 Ko
image
161.5 Ko
image
367.73 Ko
Instructions
Audio setup
... of Silence employs a multiple-source speaker centered on stage called the "Simplified Timée" consisting of 5 speakers mounted in a specific manner (see Loudspeaker setup). The saxophone player will be changing position around the speaker setup during the piece.
The Audio setup requires 1 input from the saxophone on stage to the console, and 5 outputs from the console to the stage.
The Saxophone input to the console is splitted into two separate DACs for the sound-card (into the computer), with DAC1 for the effects (possibly compressed, no gates) and DAC2 for the Score Follower Antescofo (non-compressed, no gates, raw audio).

Loudspeaker setup
The "Simplified Timée" is centered on stage and possibly elevated so as to hide the saxophonist if performing behind the material. The following figures show an actual setup and the connection diagram:

Midi setup
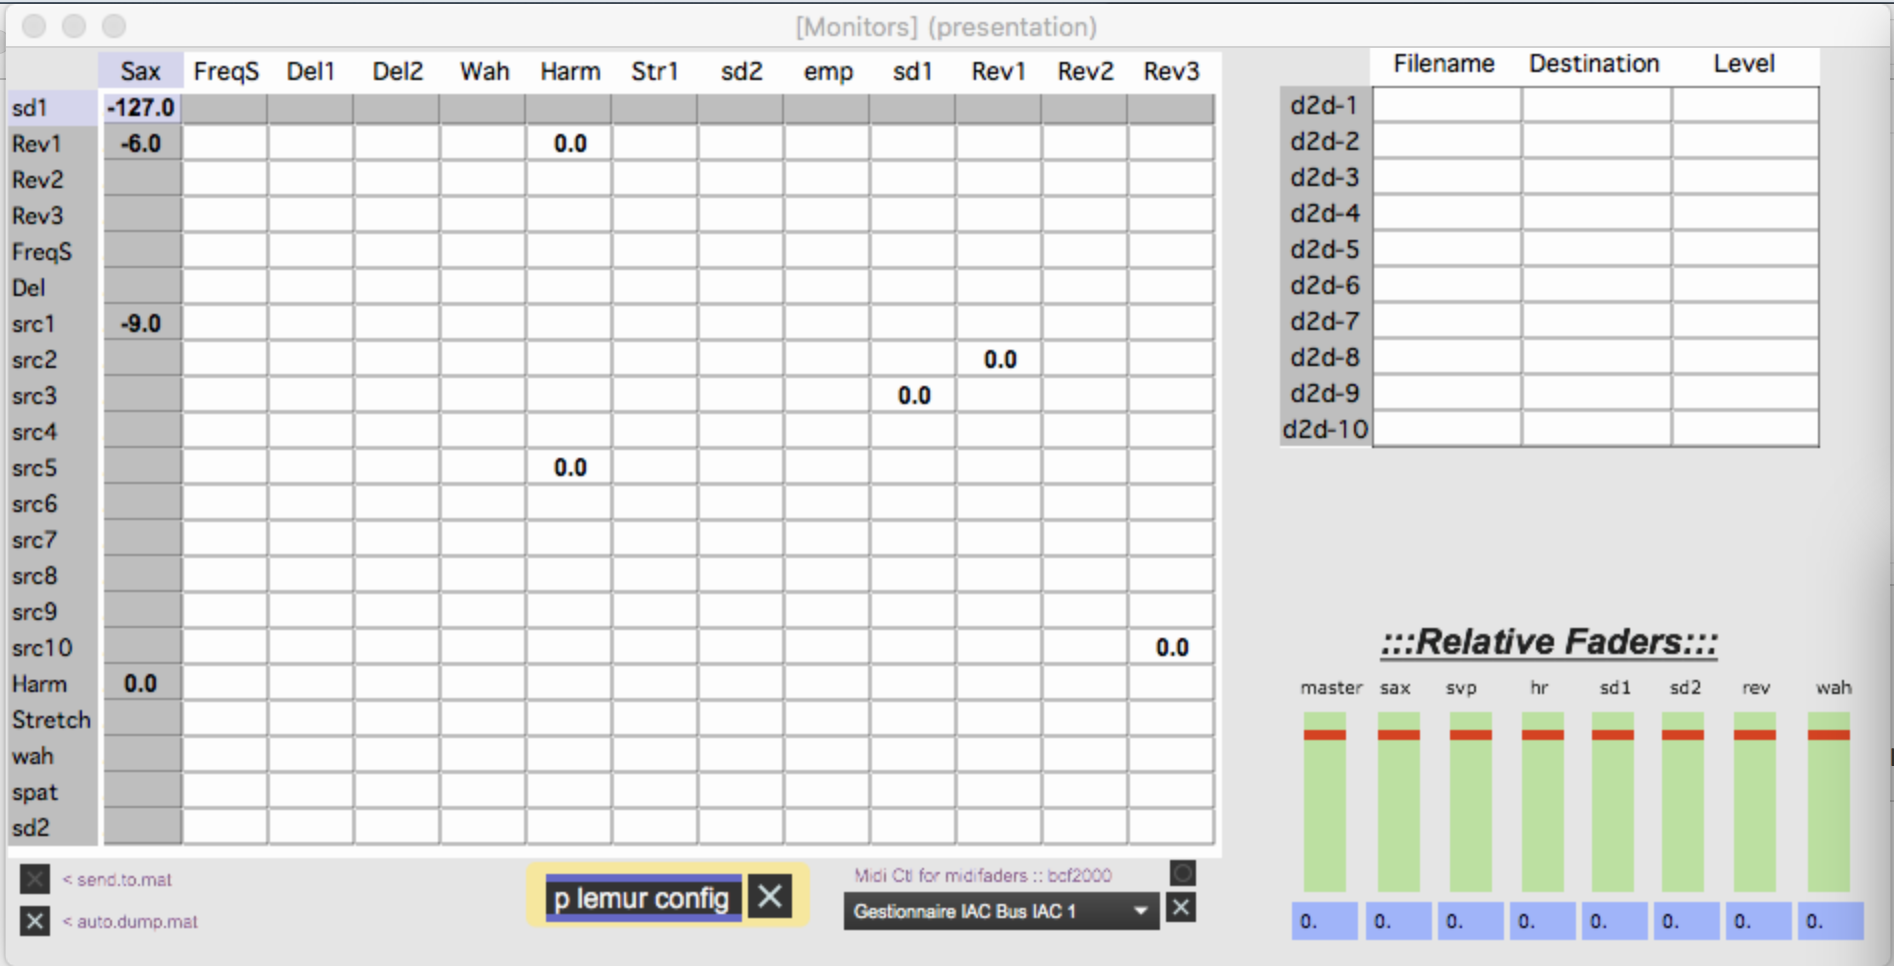
Computer Music Designer mainly interacts with the Max Patch and a BCF2000 type MIDI controller for input/output levels. In case of using a BCF2000 through USB or other MIDI Controller, refer to the patch for the control mapping of parameters.
Software installation
- Download the patch to a safe place on your hard-drive and unzip. This will create a "OfSilence__2019_" folder.
- Start Max8 and add that folder to your File Preferences.
- Set proper AUDIO SETUP (Sound Card and INPUT/OUPUT map):
- Sampling rate for this piece is 48Khz
- We recommend using an IO Vector Size of 512 and Signal Vector Size of 256
- Quit and restart Max.
- Launch the "OfSilence_2019" patch.
Initialization routine
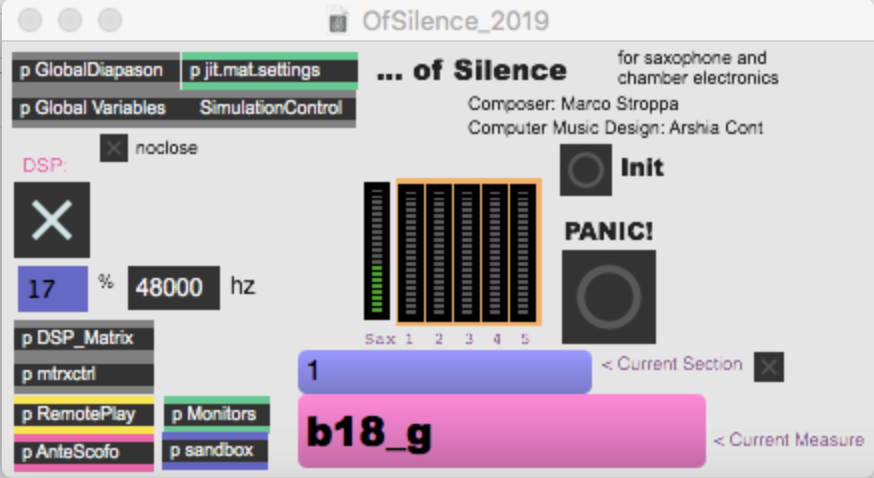
From the main patcher (figure on the left), click on Init bang. Turn the DSP ON by clicking on the the proper Toggle in the Main Patcher. Go to Antescofo Patcher, and from the Choose Score menu select Reset. The order of these three steps is mandatory. Then, always from the Choose Score menu, select Mvt1. The piece is ready to start.


System calibration and tests
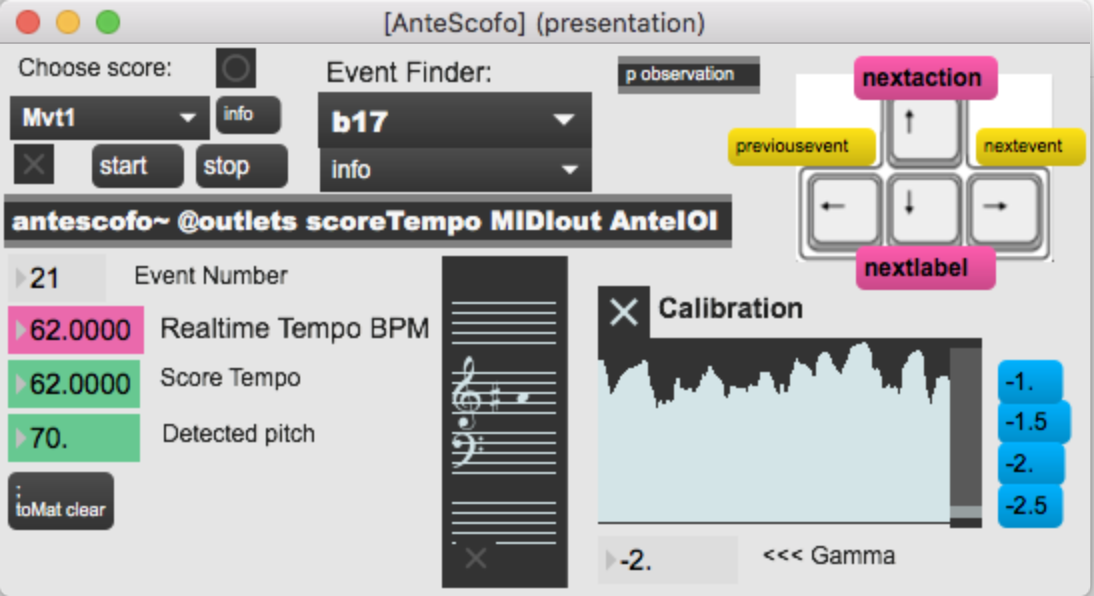
The main control patch is the Antescofo patcher that controls event and queueing dispatch through all modules. The main Calibration routine is visible there. The calibration process requires the Saxophone player to play parts from the first and second mouvement. The calibration diagram should go above the mid-level when instrument is performing and go below the mid-level when not playing. Computer Music Performer should try this scheme on several nuances (beginning and ending of Mouvement 2 for example) to make sure calibration covers the entire piece.
Additionally, the HPTest patcher in the MainPatcher allows a raw control of output speakers for the Simplified Timée.
Performance notes
Movements in of Silence are triggered by choosing the right score from the Choose score menu in the Antescofo patcher. During live performance, movements are advanced automatically. Computer Music Performer can advance between electronic actions by the Upper Arrow button on the keyboard. Each electronic action has a Label that corresponds to the annotated labels on the attached PDF score and also what is seen during live performance in the Main patcher.
Movement 1
Movement 1 of the piece is mainly based on Spectral Delays (faders SD1 and SD2), soundfiles that are played by SuperVP (fader SVP), and Harmonizers (fader Harm). It does not need to use score following.
Movement 2
Movement 2 makes extensive use of Antescofo Score Following. It is upon the electronic musician to turn on the machine listening by pressing the 'c' key on the keyboard (which triggers a Toggle right above Antescofo). This same key can be used in times of panic to advance manually.
Movement 3
Movement 3 does not use score following. Triggering is done by the Upper Arrow (nextaction) and following the annotated score. The electronic level control should be focused on SVP (for soundfiles), SD1 and SD2 (for live Spectral Delays).
Training with the sImulation files
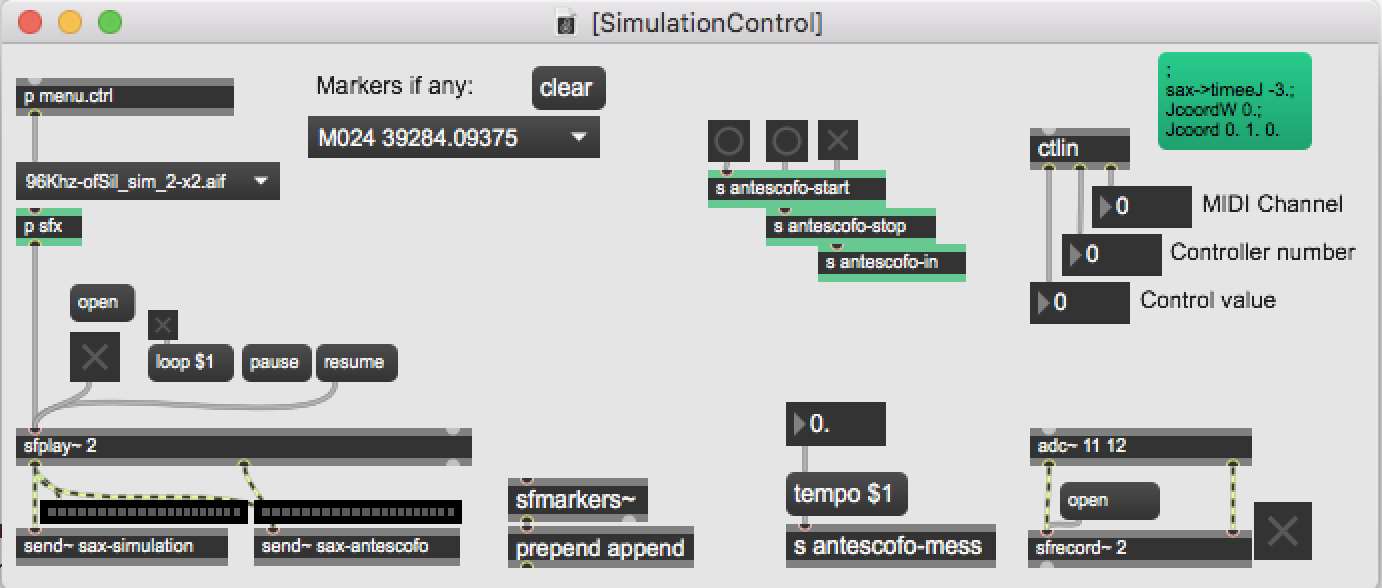
It is very recommended, prior to any rehearsal / performance of the pièce, to spend some time training with the simulation files of the saxophone player, which can be sent both to antescofo input and direct signal input (for real-time treatments), through the "SimulationControl.maxpat" patcher, to be found in the same directory as the main patch.

On the umenu on the left top, just select the audiofile for the simulation you want to use, and then click on the toggle to start the saxophone recording.
Packages for MAX
To run the patch correctly, the following packages for max must be installed:
- SuperVP for MaxMSP v2.18.3-2017-11-OSX
- Antescofo release develop2 - 1.0-168, Compiled on Feb 8 2019
- MaxSoundBox 0.3-2018 package (for the SDChromax Spectral Delay)
N.B. -> Make sure you don't have in the search path any version of the old object loadbanger.mxo.
Updated at
Vous constatez une erreur ?
IRCAM
1, place Igor-Stravinsky
75004 Paris
+33 1 44 78 48 43
heures d'ouverture
Du lundi au vendredi de 9h30 à 19h
Fermé le samedi et le dimanche
accès en transports
Hôtel de Ville, Rambuteau, Châtelet, Les Halles
Institut de Recherche et de Coordination Acoustique/Musique
Copyright © 2022 Ircam. All rights reserved.